Maneuvering our driveway with our Lance and building and installing a quick release bracket for the right rear leveling jack.
The aerial picture below show the path we have to take
to get our trailer in and out of our property.

This picture below show a street view of the same maneuver.

This photo above shows where we encounter a problem
with the right rear leveling jack. On 3 to 4 occasions we
tweaked the right rear leveler pulling out the driveway.
On our most recent trip I twisted the leveler so much I
couldn't even lower it when we got to our camp site.

This is a "Quick Release" bracket I came up with that would allow me to quickly remove the the leveler before pulling out the driveway and then quickly reinstall it when we arrived at our camping site.

Here's a picture with the Quick release bracket attached to the leveler.

Here's the bracket attached to the leveler.

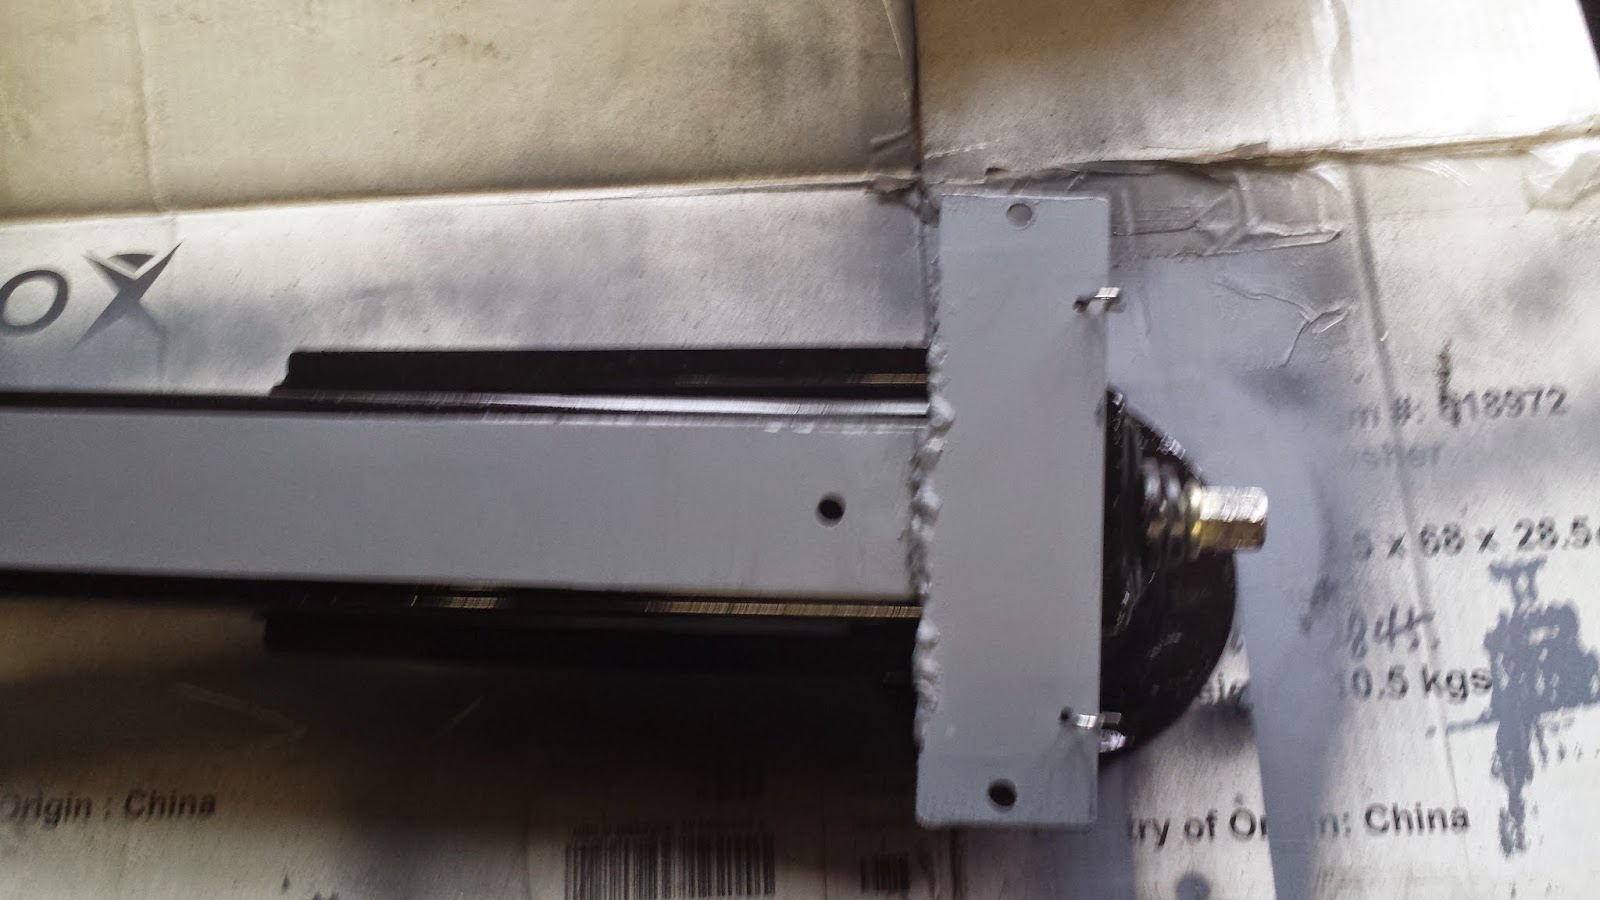
Here's a closeup of the crank end of the leveler and bracket with the hair pins to hold the leveler in place.

Here's the opposite end of the leveler which shows how the leveler slides into bracket.
Top view of the quick release bracket mounted to the leveler with locking hair pin.

Here's another closeup picture of how the leveler slides into the bracket and hairpins in place.
 Here's the quick release bracket mounted to the frame in the exact same location where the leveler is normally located.
 Here's the back end of the mounting bracket attached to the trailer frame.
 This picture is looking at the mounting bracket from the where the leveler will be mounted.
 Here's the same shot with the leveler installed along with safety pins.
 Here's the leveler installed back in it's original location on the mounting bracket, ready to go into service.
No comments:
Post a Comment